How to make print-ready files: DPI, bleed, safe area and colour
Avoid blurry prints and white edges. What printers mean by 300 DPI, 3 mm bleed, safe margins and CMYK, explained simply.
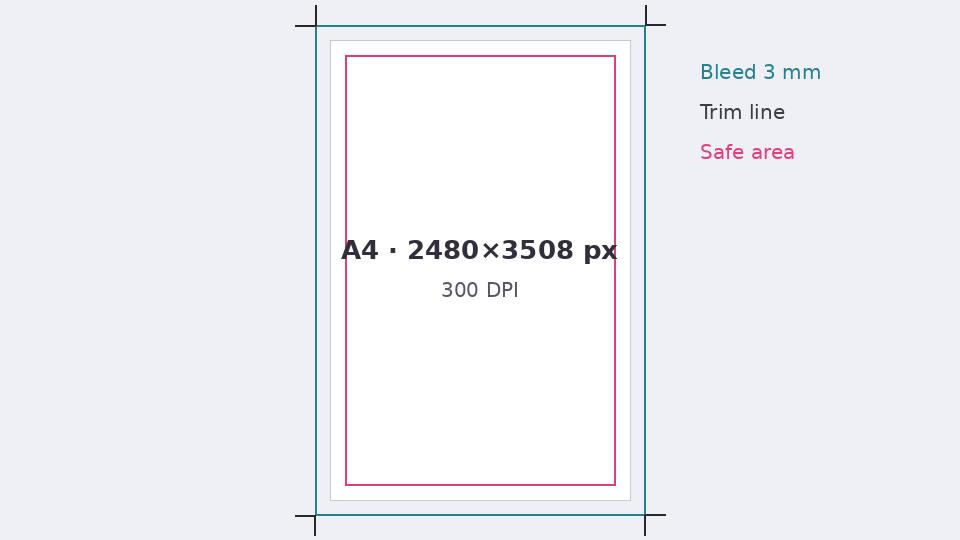
A flyer that looked perfect on screen can come back from the printer blurry, with white slivers on the edges or text cut off. Almost always, the cause is one of four things: resolution, bleed, safe area or colour. Here is what each means and how to get it right.
Resolution: why printers ask for 300 DPI
Screens show around 100–150 pixels per inch; good print needs about 300. So a design that is sharp on a phone may be too small for paper. Work out the pixels from the paper size: multiply the inches by 300.
| Paper | Size | Pixels at 300 DPI |
|---|---|---|
| A4 | 210 × 297 mm | 2480 × 3508 |
| A5 | 148 × 210 mm | 1748 × 2480 |
| A3 | 297 × 420 mm | 3508 × 4961 |
| Visiting card (India) | 3.5 × 2 in | 1050 × 600 |
For banners seen from a distance, 100–150 DPI is often enough; ask your printer.
Bleed: stop white edges
Printers print on larger sheets and cut them to size. The cut is never perfectly exact, so if your background stops at the page edge, a thin white line can appear. The fix is bleed: extend backgrounds and photos about 3 mm beyond each edge. That extra part is cut away.
Safe area: keep text away from the edge
For the same reason, important text and logos should stay at least 3–5 mm inside the trim line. A phone number printed right at the edge may lose half a digit.
Colour: RGB on screen, CMYK on paper
Screens make colour from light (RGB); printers use ink (CMYK). Some very bright screen colours, such as neon greens, electric blues and hot pinks, cannot be printed exactly and come out duller. If colour matters, ask the printer for a proof, and avoid relying on a very saturated colour for your brand.
Fonts and text
- Body text below about 8 pt becomes hard to read on paper.
- Thin fonts on dark backgrounds can fill in with ink; choose a slightly bolder weight.
- Export as PDF so the layout and fonts travel exactly as designed.
Final checklist
- Document at the right pixel size for the paper.
- Backgrounds extended into the bleed.
- Text inside the safe area.
- Checked at 100% zoom for blurry images.
- Exported as PDF, named clearly (for example, shop-flyer-A5-final.pdf).
Put it into practice
Kreeato runs in your browser. Nothing to install.
More from Kreeato
All blog →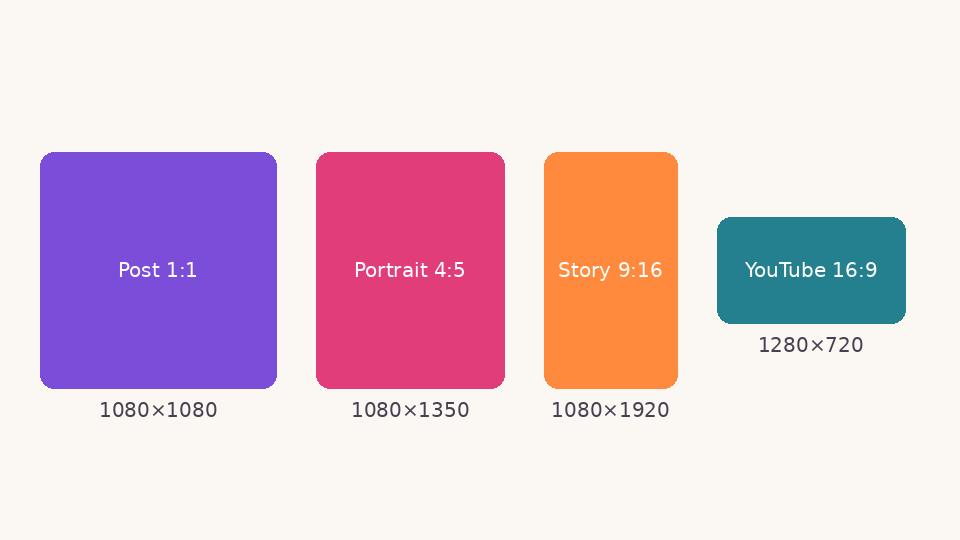 Social media
 image sizes in 2026: a simple cheat sheet
The sizes and shapes that look right on Instagram, Facebook, WhatsApp, YouTube and LinkedIn, and why designing at the correct size matters.
 Basics
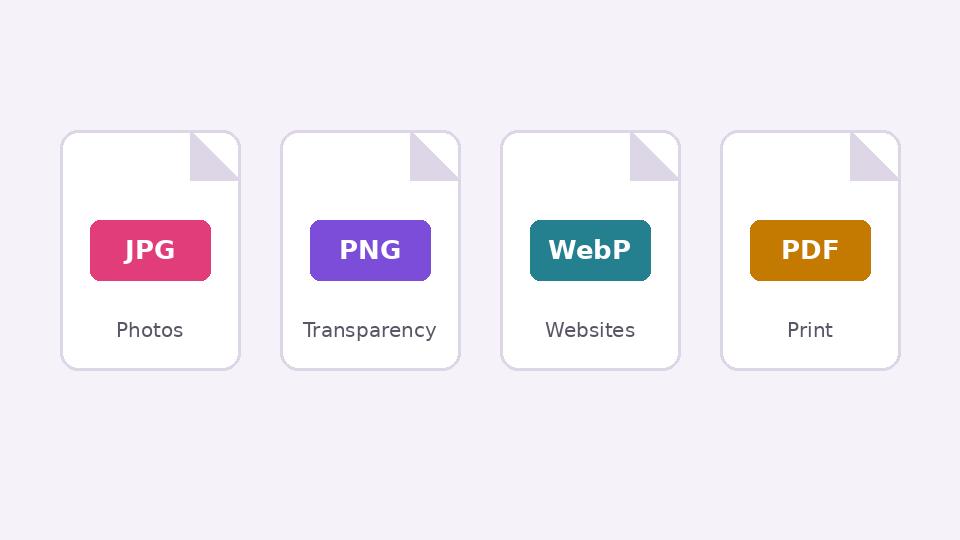
JPG, PNG, WebP or PDF? Choosing the right format when you export
What each image format is good at, when transparency matters, and how to keep files small without making them look worse.
 Tutorial · Photo
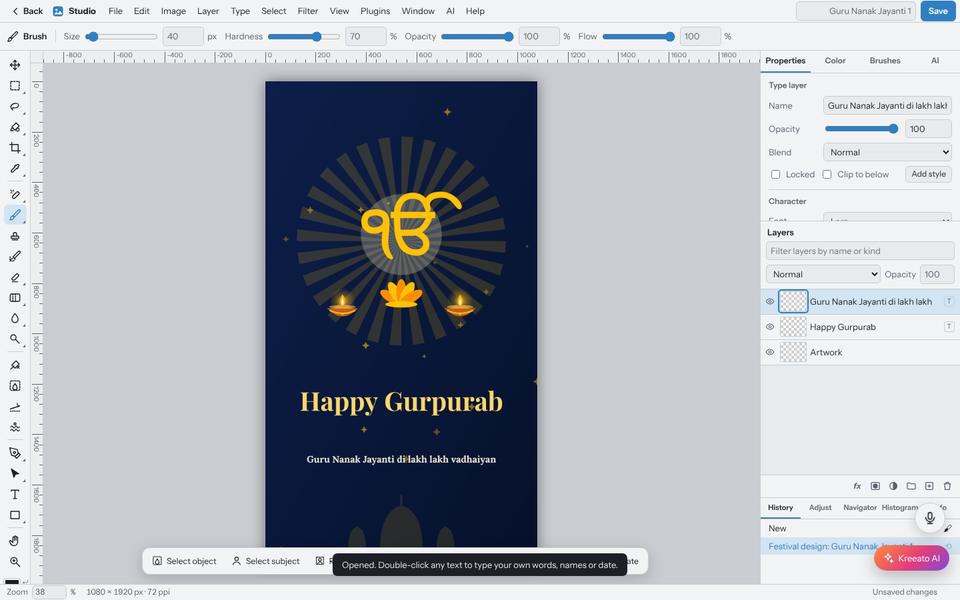
Layers and masks explained: edit without losing your original
Understand layers, layer masks, adjustment layers and clipping masks in Kreeato Studio, and learn the habits that make edits easy to change later.