How to remove the background from a photo in Kreeato
Cut out a person or product in one click, keep only the object you selected, clean up the edges and export a transparent PNG.
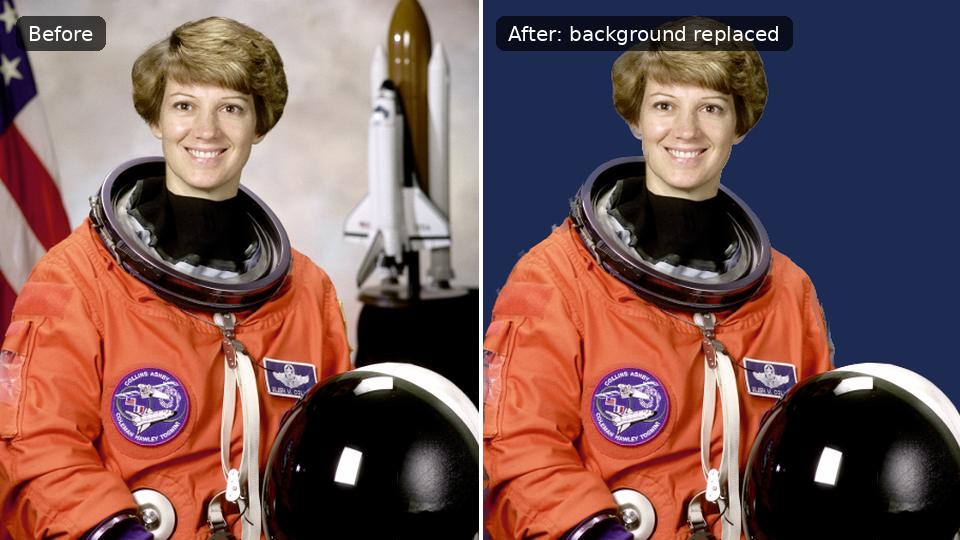
A clean cut-out is the starting point for product photos, profile pictures, thumbnails and posters. Kreeato's Remove Background works the way Photoshop's does: it does not delete pixels, it hides the background with a layer mask. That means you can always bring back a part that was hidden by mistake. This tutorial takes about five minutes.
What you need
- A photo where the subject is reasonably sharp. Hair and fur work, but very blurry edges are harder for any tool.
- Kreeato open in Chrome, Edge, Firefox or Safari on a computer. A phone works too, but a mouse makes refining easier.
Step 1: Open your photo in Studio
From the Home screen choose Open and pick the photo, or drag the file onto the window. Studio opens it as a single layer called Background. Look at the Layers panel on the right: you should see one thumbnail.
Step 2: Run Remove Background
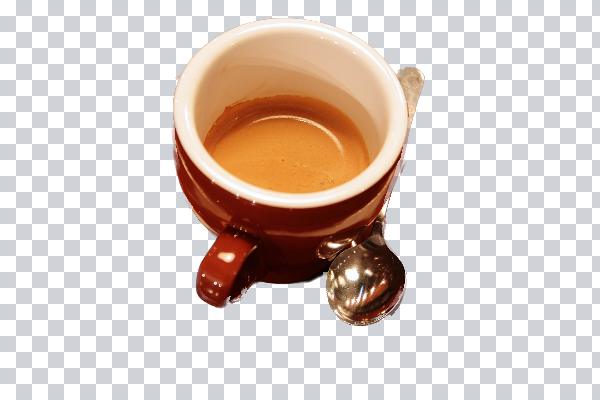
With the photo layer selected, open Properties › Quick Actions › Remove Background. The same button sits on the task bar under the canvas. Kreeato makes several cut-outs in the background and picks the cleanest one, so give it a moment on large photos. When it finishes you will see a checkerboard where the background was, and a second thumbnail, the mask, next to your layer.
Step 3: Check the edges
Zoom in to 100% (Ctrl + 1) and look around hair, hands and thin parts such as spoon handles. Automatic tools are very good on clear edges and less sure where the subject and the background have similar colours.
- Something important was hidden? Click the mask thumbnail in the Layers panel, choose the Brush (B) and paint with white to show it again.
- Some background is still visible? Paint with black on the mask to hide it.
- Hair looks cut with scissors? Open Refine Selection (Ctrl + Alt + R) and brush over the hair. Increase Feather slightly for a softer, natural edge.
Press X to swap between black and white while you paint. A soft brush at 30–60% opacity gives smoother results than one hard click.
Step 4: Add a new background (optional)
To put the subject on a colour, choose Layer › New Layer, fill it with the colour you like and drag it below the photo in the Layers panel. For a photo background, open the second photo as a layer and move it underneath in the same way. Because the cut-out is a mask, the new background shows through exactly where the old one was hidden.
Step 5: Export
- For a transparent cut-out, use File › Quick Export as PNG. PNG keeps transparency; JPG does not and would fill the empty area with white.
- For a social post with a new background, File › Export As… lets you pick JPG, PNG or WebP and the size.
Common problems and fixes
| Problem | Fix |
|---|---|
| The whole photo disappeared | The mask is inverted. Click the mask and choose Layer › Layer Mask › Invert Mask. |
| Only part of the object was kept | You had an old selection active. Press Ctrl + D to deselect and run Remove Background again. |
| A thin halo around the subject | Open Refine Selection and use Shift Edge a little to the negative side. |
| The export has a white background | You exported JPG. Export PNG instead. |
Summary
Select the layer, run Remove Background, check the edges on the mask, then export PNG. Because nothing is deleted, you can come back later, paint the mask again or swap the background as many times as you like.
Try it yourself
Kreeato runs in your browser. Nothing to install.
More from Kreeato
All tutorials →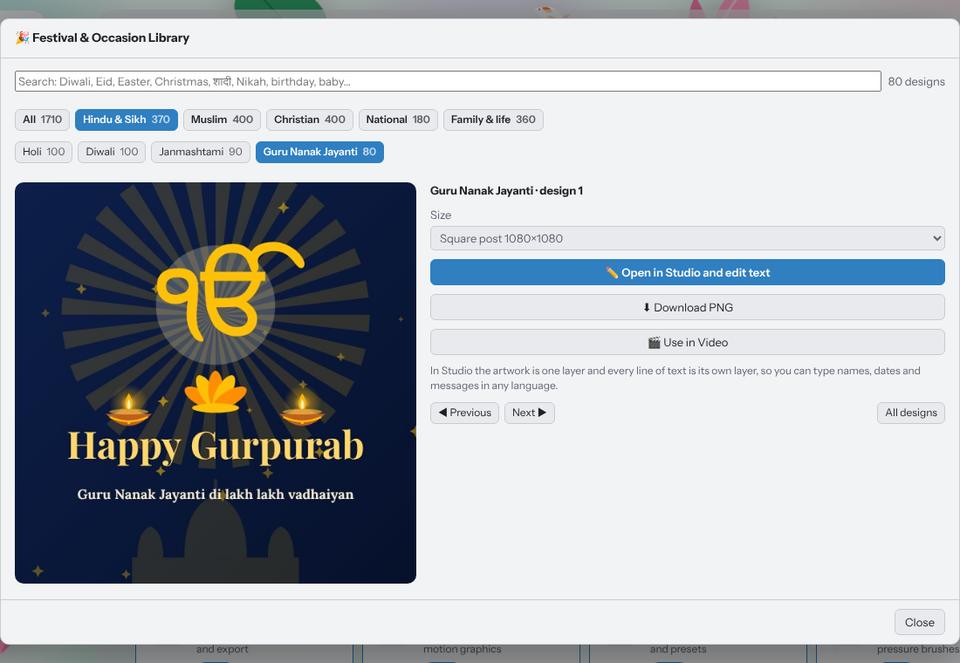 Tutorial · Design
Make a festival greeting in two minutes with the Festival Library
Pick a ready design for Diwali, Eid, Christmas, Holi, Gurpurab or a birthday, type your own words in any language and download it for WhatsApp or Instagram.
 Tutorial · Video
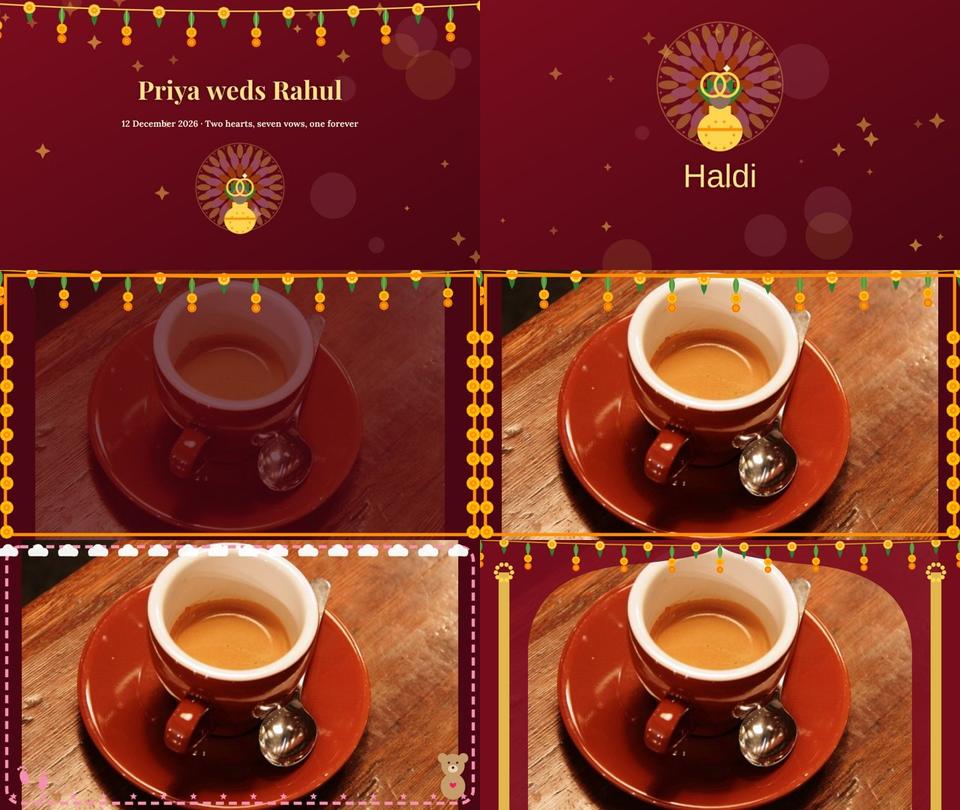
Create a wedding, Nikah or baby slideshow video from your photos
Use Smart Slideshow to turn photos into a video with names, chapter cards, slow zoom, transitions, a frame and music, then export it.
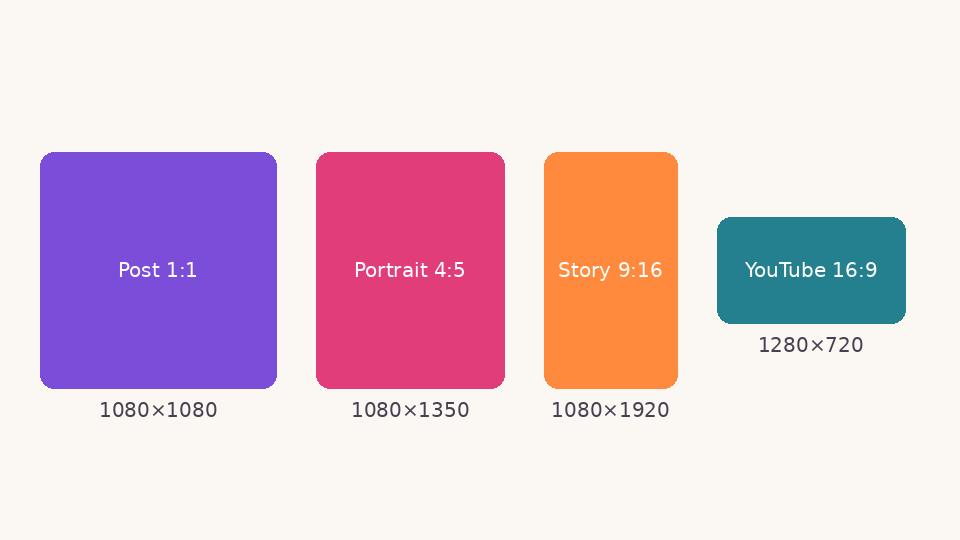 Social media
 image sizes in 2026: a simple cheat sheet
The sizes and shapes that look right on Instagram, Facebook, WhatsApp, YouTube and LinkedIn, and why designing at the correct size matters.