Exposure, contrast, highlights and shadows: a beginner's guide
What the four most-used light sliders actually do, the order to use them in, and how to avoid the overdone look.
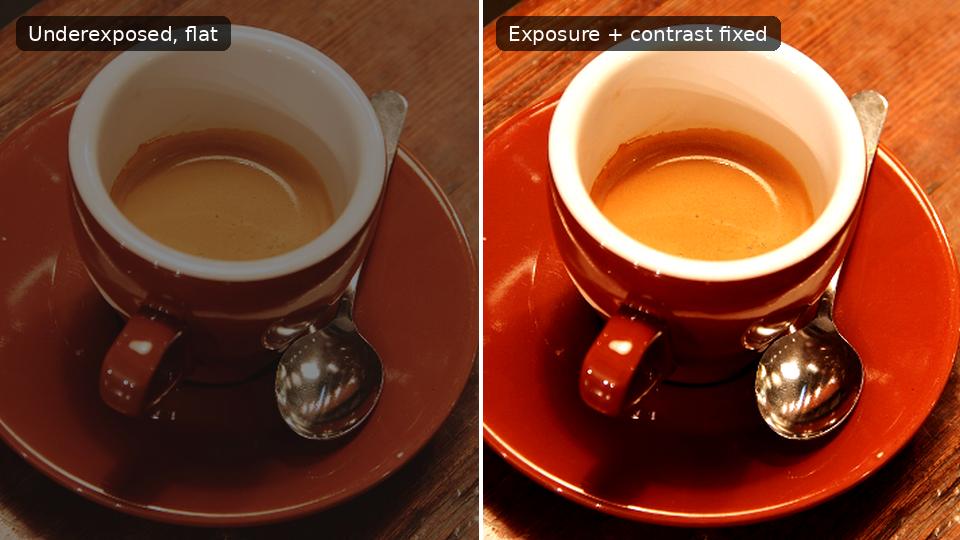
Most photos that look "off" are not badly composed; they are simply too dark, too bright or too flat. Four controls fix the majority of these problems. Learn what each one does and you will edit faster and more confidently.
Exposure: overall brightness
Exposure brightens or darkens the whole image, as if you had let more or less light into the camera. Use it first, to get the main subject at a natural brightness. A good test: look at a face or the product. If it looks right, exposure is right, even if some other parts are now too bright or too dark; the next sliders handle those.
Contrast: the difference between light and dark
Contrast pushes bright areas brighter and dark areas darker. A little contrast makes a flat, hazy photo look clear. Too much makes skin look harsh and loses detail in hair and clothes. If you find yourself above +30, step back and check the photo at a normal size.
Highlights: rescue bright areas
Highlights affects only the brightest parts: skies, windows, white shirts, reflections. Lowering highlights brings back detail in a bright sky or a white wedding dress that looks like a white blob.
Shadows: open up dark areas
Shadows affects only the darkest parts. Raising shadows shows detail in dark hair, black clothing and corners of a room, without making the whole photo pale.
The order that works
- Fix exposure for the subject.
- Pull highlights down if bright areas lost detail.
- Lift shadows if dark areas are too heavy.
- Add a little contrast back, because steps 2 and 3 flatten the image slightly.
Avoiding the over-edited look
- Very low highlights plus very high shadows produces a grey, "HDR" look with halos. Moderate amounts look natural.
- Take a break and look again. Eyes adapt quickly to strong edits.
- Compare with the original. In Kreeato, adjustment layers can be hidden with one click to see before and after.
- Edit on a screen at normal brightness. A very bright laptop screen makes photos look brighter than they are, so you may make them too dark.
Do it without damaging the original
Use these controls as adjustment layers rather than applying them directly to the photo. You can change the values tomorrow, paint the adjustment onto only part of the image with its mask, or delete it entirely. Our tutorial on layers and masks explains how.
Put it into practice
Kreeato runs in your browser. Nothing to install.
More from Kreeato
All blog →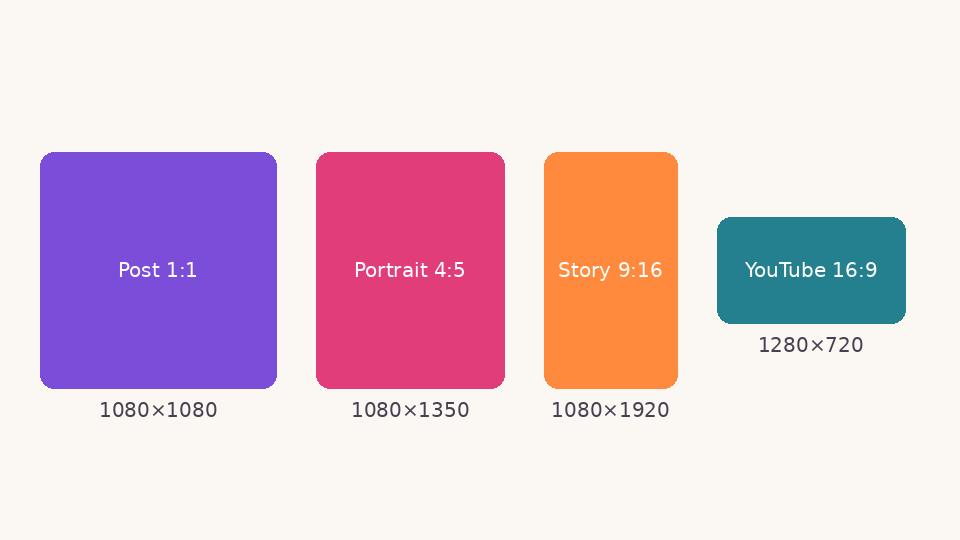 Social media
 image sizes in 2026: a simple cheat sheet
The sizes and shapes that look right on Instagram, Facebook, WhatsApp, YouTube and LinkedIn, and why designing at the correct size matters.
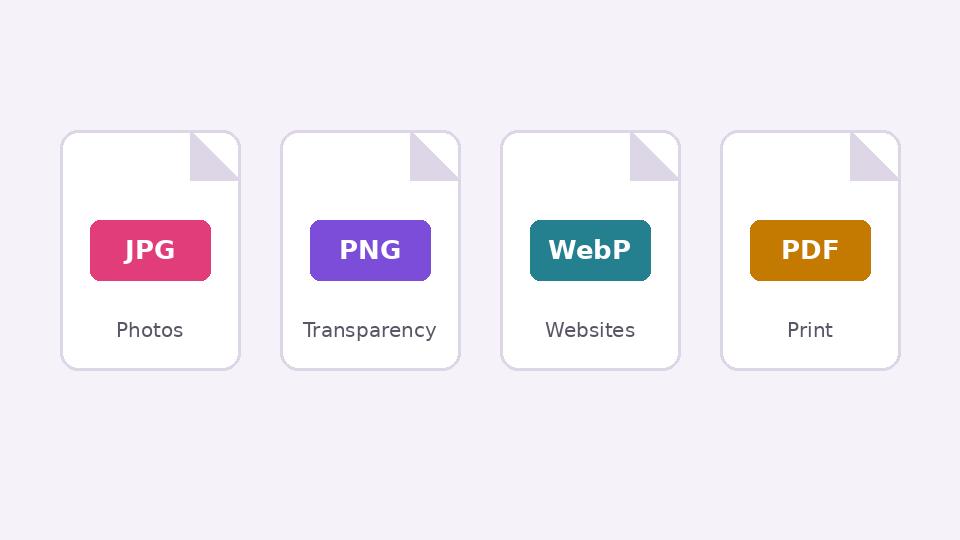 Basics
JPG, PNG, WebP or PDF? Choosing the right format when you export
What each image format is good at, when transparency matters, and how to keep files small without making them look worse.
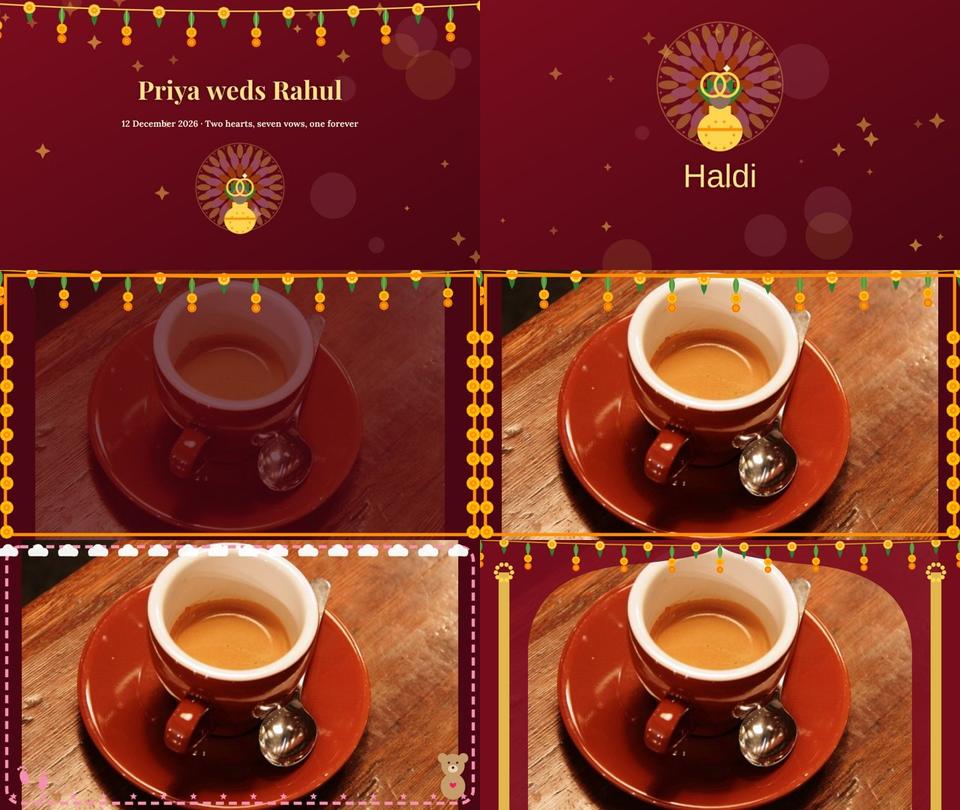 Tutorial · Video
Create a wedding, Nikah or baby slideshow video from your photos
Use Smart Slideshow to turn photos into a video with names, chapter cards, slow zoom, transitions, a frame and music, then export it.