Layers and masks explained: edit without losing your original
Understand layers, layer masks, adjustment layers and clipping masks in Kreeato Studio, and learn the habits that make edits easy to change later.
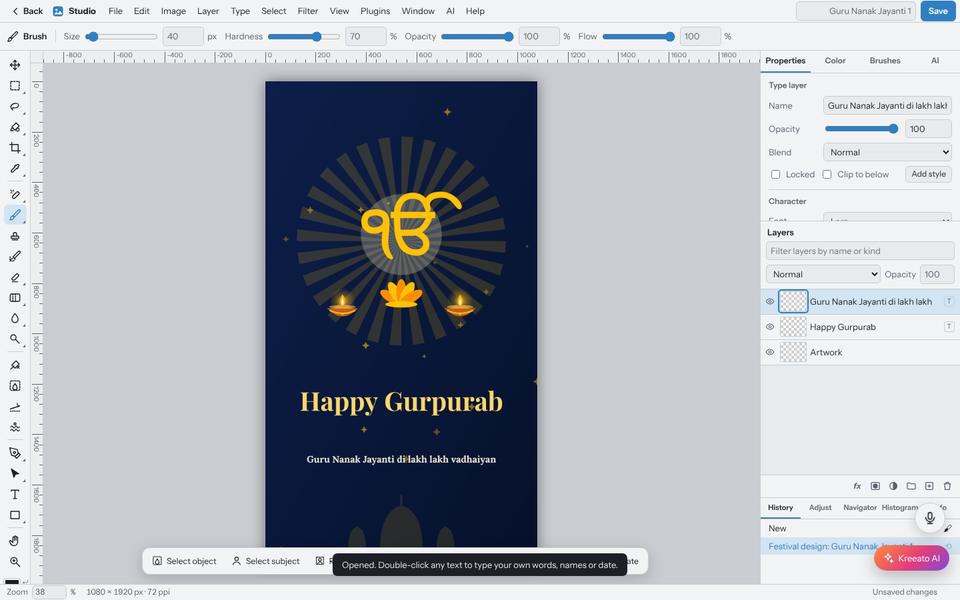
Layers are the reason professional editors can change their mind. Instead of painting directly on the photo, you stack separate pieces on top of each other: the photo, a text, a logo, a colour adjustment. Each one can be moved, hidden or changed later without damaging the others.
Layers in one minute
Think of layers as clear sheets laid over a photo. What is higher in the Layers panel covers what is lower. Click the eye icon to hide a layer; drag a layer up or down to change the order. Layer › New Layer adds an empty sheet; Duplicate Layer copies one so you can try something risky on the copy.
Layer masks: hide instead of delete
A mask is a black-and-white picture attached to a layer. White shows the layer, black hides it, and grey makes it partly see-through. Remove Background creates one for you, but you can add your own with Layer › Layer Mask › Reveal All.
- Paint black with a soft brush to fade the edge of a photo into the one below.
- Make a selection first and choose Reveal Selection to show only that area.
- Disable/Enable Mask lets you compare before and after; Apply makes the result permanent when you are sure.
Adjustment layers: colour changes you can undo any time
Brightness, Curves, Hue/Saturation and similar adjustments can be added as their own layers. They change everything below them, and their settings stay editable in the Properties panel. Each adjustment layer has a mask too, so you can paint where it applies: brighten only a face, or warm only the sky.
Clipping masks: apply to one layer only
Sometimes you want an adjustment, a texture or a photo to affect just the layer underneath. Select the upper layer and choose Layer › Create Clipping Mask. A typical use is a photo clipped into large text, so the photo shows only inside the letters.
Groups and names
Once a design has more than five or six layers, name them (Layer › Rename Layer…) and put related layers in a group (Group Layers). It takes seconds and saves minutes when you or a colleague open the file next week.
Keep your layers when saving
PNG and JPG flatten everything into one image. To keep layers, save as PSD from File › Save as PSD (.psd)…. The file opens in other apps that read PSD with layers, masks, opacity and blend modes; text and effects are saved as pixel layers.
Try it yourself
Kreeato runs in your browser. Nothing to install.
More from Kreeato
All tutorials →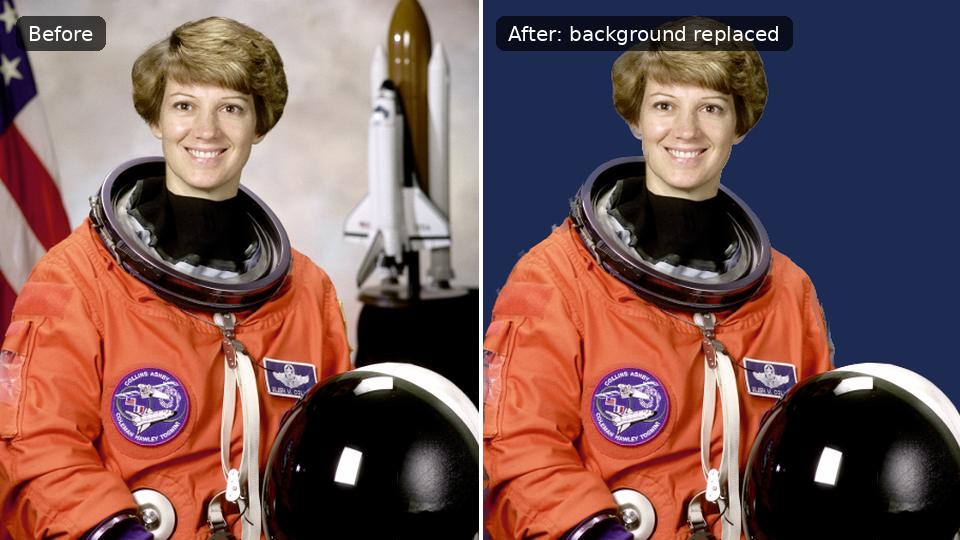 Tutorial · Photo
How to remove the background from a photo in Kreeato
Cut out a person or product in one click, keep only the object you selected, clean up the edges and export a transparent PNG.
 Tutorial · Design
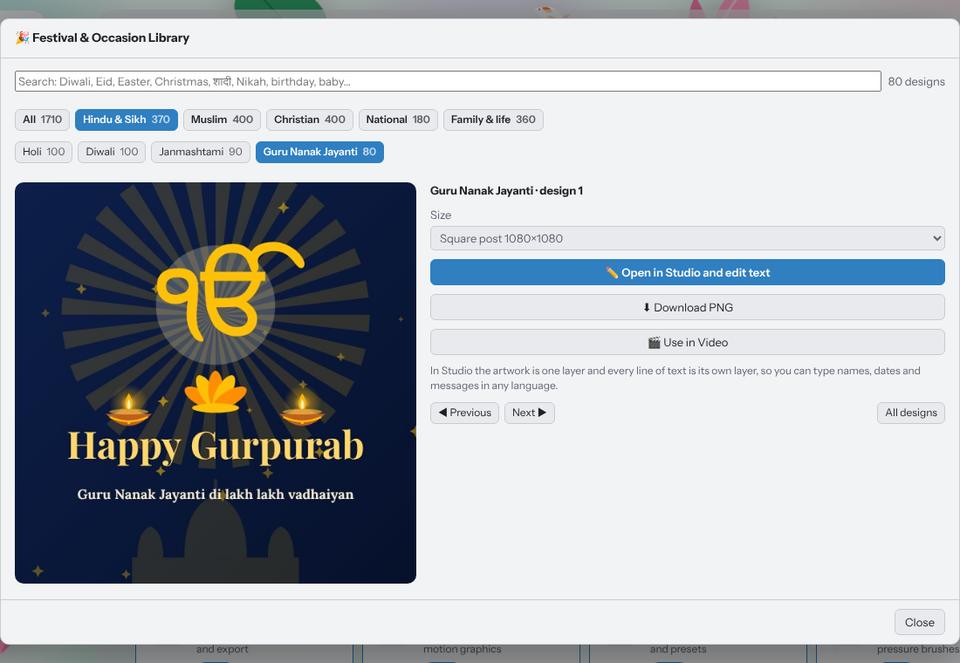
Make a festival greeting in two minutes with the Festival Library
Pick a ready design for Diwali, Eid, Christmas, Holi, Gurpurab or a birthday, type your own words in any language and download it for WhatsApp or Instagram.
 Print
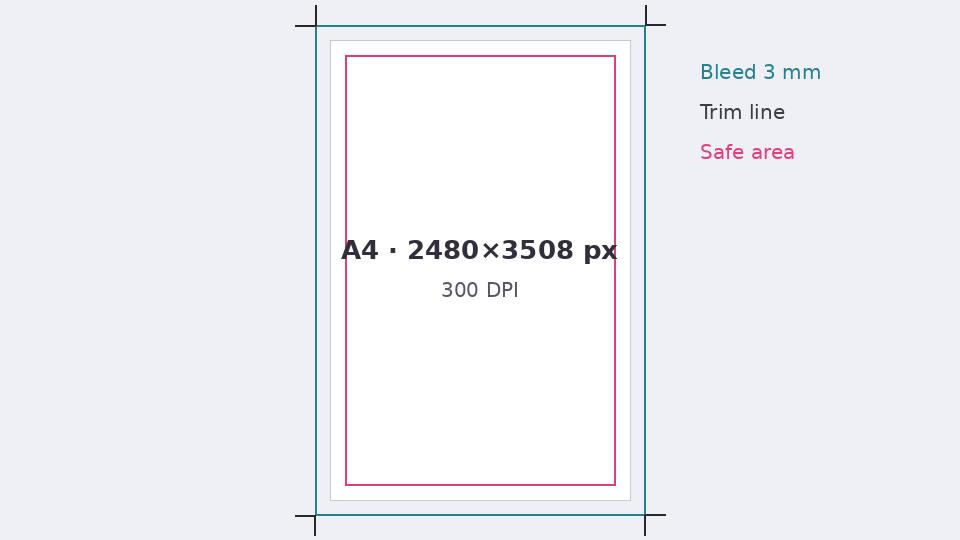
How to make print-ready files: DPI, bleed, safe area and colour
Avoid blurry prints and white edges. What printers mean by 300 DPI, 3 mm bleed, safe margins and CMYK, explained simply.